Making Might and Magic maps with Trenchbroom: Difference between revisions
From MM6 Wiki
No edit summary |
|||
| Line 160: | Line 160: | ||
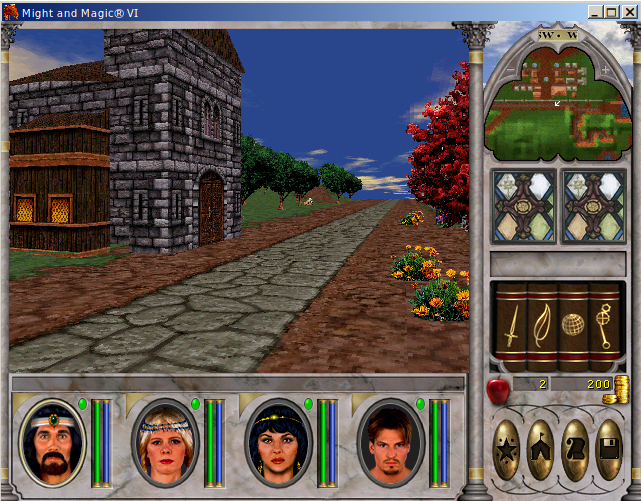
[[File:Mm6 trenchbroom ingame.png|frameless|641x641px]] | [[File:Mm6 trenchbroom ingame.png|frameless|641x641px]] | ||
==== What's missing ==== | ====What's missing==== | ||
The steps described above are proof of concept. The things that can be improved are: | The steps described above are proof of concept. The things that can be improved are: | ||
* A way to merge Trenchbroom brushes without using 3D Software (merge everything on import in MMEditor for example) | *A way to merge Trenchbroom brushes without using 3D Software (merge everything on import in MMEditor for example) | ||
* Better support for texture alignment in Might and Magic (texture flipping, offsets, scaling) | *Better support for texture alignment in Might and Magic (texture flipping, offsets, scaling) | ||
* Convert existing maps to OBJ to use as a reference in the editor | *Convert existing maps to OBJ to use as a reference in the editor | ||
* Crossplatform MTL conversion | *Crossplatform MTL conversion | ||
Revision as of 14:07, 7 June 2020
Making maps for Might and Magic is a little bit tricky since it requires usage of some 3D software like Blender or 3Ds Max. To make it easier map editor can be used. MMEditor which is used to edit Might and Magic maps can import 3D models in OBJ format, that means that any program that can export such models can be used for making objects or even entire maps for the game.
Trenchbroom is a map editor for Quake-based games.
Setting up the editor
Exporting textures from the game
To extract the textures MMArchive can be used. The textures are stored in the /data/bitmaps.lod archive.
PAL or palette files are not required and can be deleted after extraction.
Project structure
Now for Trenchbroom to find the textures a specific folder structure needs to be created
It needs to look like that:
- Project name
  - Bitmaps
    - Any folder name
      ... (textures) ...
    - Any folder name
      ... (textures) ...
    - Any folder name
      ... (textures) ...
Trenchbroom uses texture collections / packs / groups to manage sets of textures, that is why there is a need to create and additional folder in the Bitmaps directory. Structure like that allows to enable or disable folders on the maps when needed.
As an example the following structure will be used:
- Might and Magic Trenchbroom
  - Bitmaps
    - MM6
      ...(textures)...
Now the textures can be placed in the MM6 directory to be further visible by the editor.
However, by default it seems that BMP image support is not enabled. That can be solved by creating custom configuration file for a game that needs it.
Trenchbroom configuration
THERE BE THE CONFIGURATION FILES FOR TRENCHBROOM
To add this configuration: extract the ZIP file into Trenchbroom/Games directory.
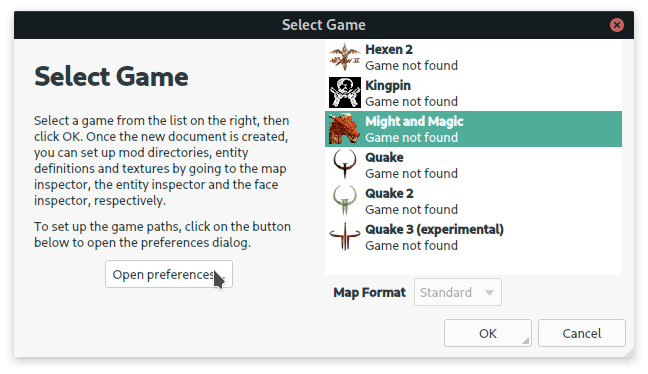
If the configuration files worked then a new entry will be visible when creating a new map:
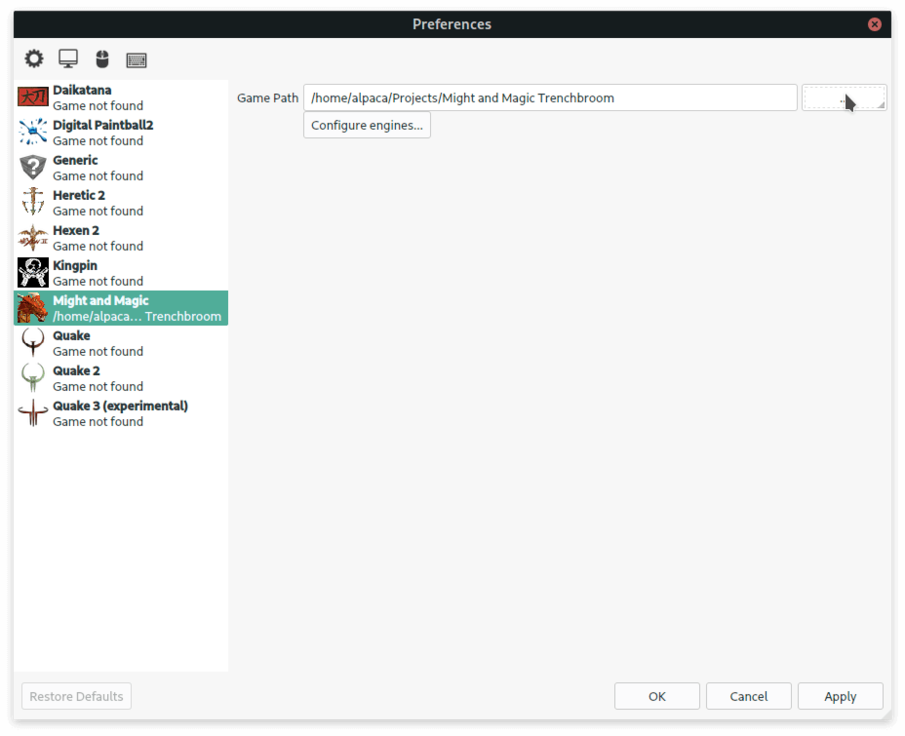
Now Trenchbroom needs a path to the project directory, with textures, created earlier. To set it, press the Open preferences... button. And set the path for Might and Magic to the Might and Magic Trenchbroom folder.
Making a map / object
Now creating new map with Might and Magic preset will be loading the project folder and the textures will be available. To proceed start a new map using Might and Magic preset.
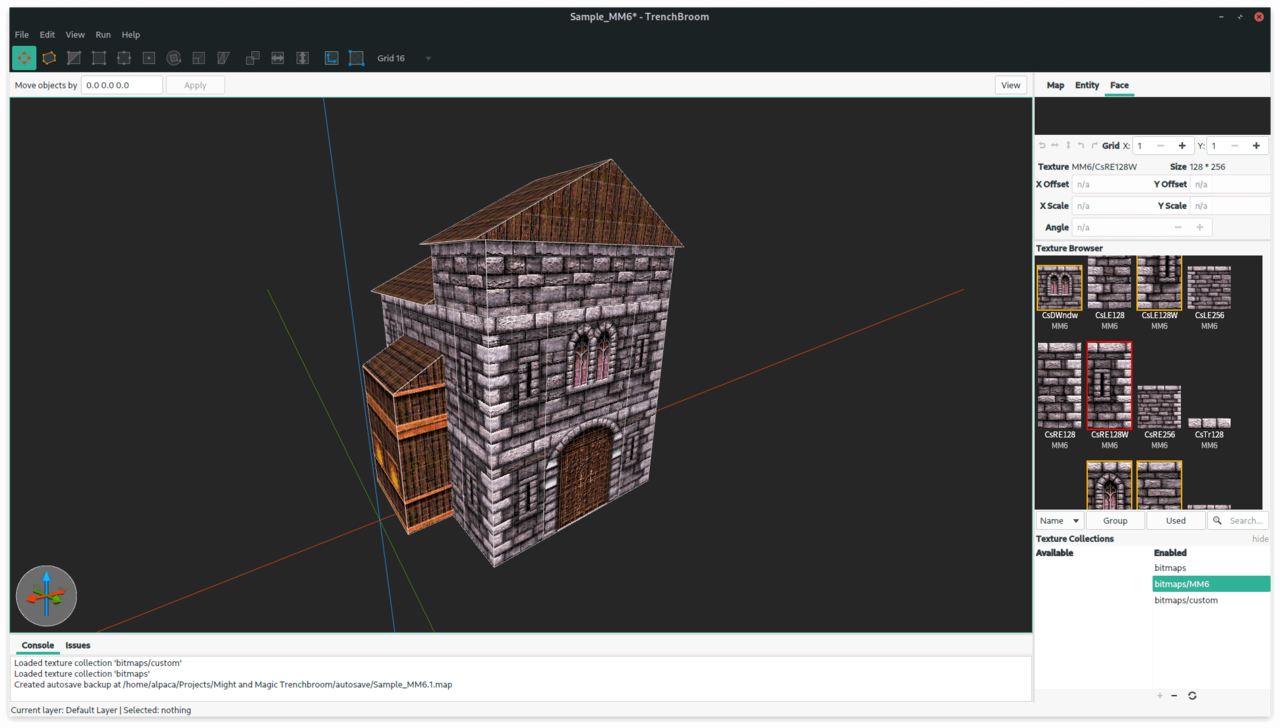
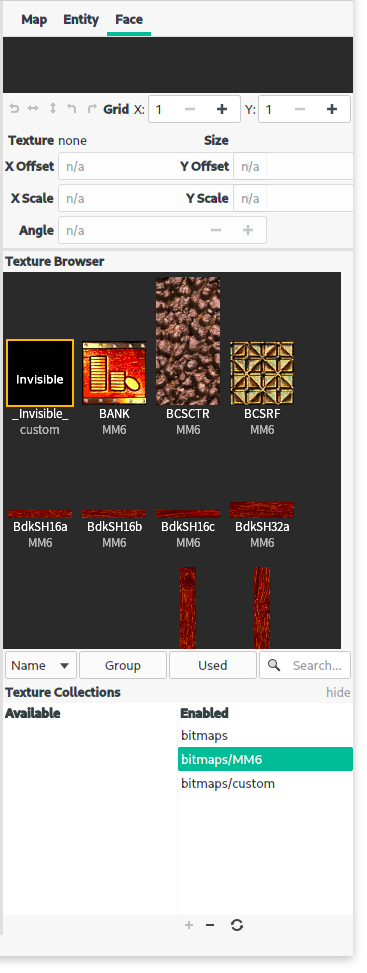
The textures will be available once texture collection is selected. Open the Face tab and in the Texture Collections section double click on the bitmaps\MM6 collection. Once the texture collection is loaded the textures should be visible in the Texture Browser.
From now on the process is very similar to making a custom map for Quake, so the general tutorials for Trenchbroom apply.
Limitations
Might and Magic engine has its own limitations that are not present in Quake engine.
- The textures can not be rotated
- The textures can not be flipped
- The textures can not be scaled
None of that will be applied after the model is exported and will lead to inconsistent results between the editor and the game.
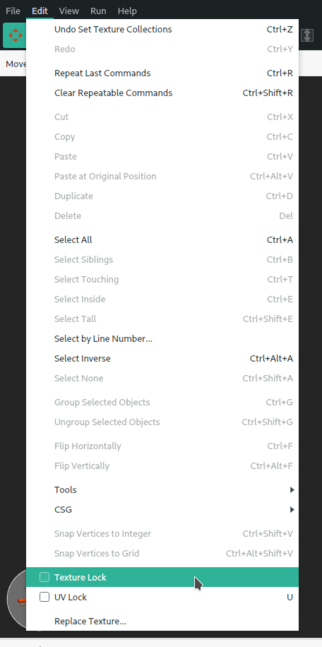
To avoid some of those things untick Texture Lock and UV lock in the Edit menu:
Optimizing the object with _Invisible_ texture
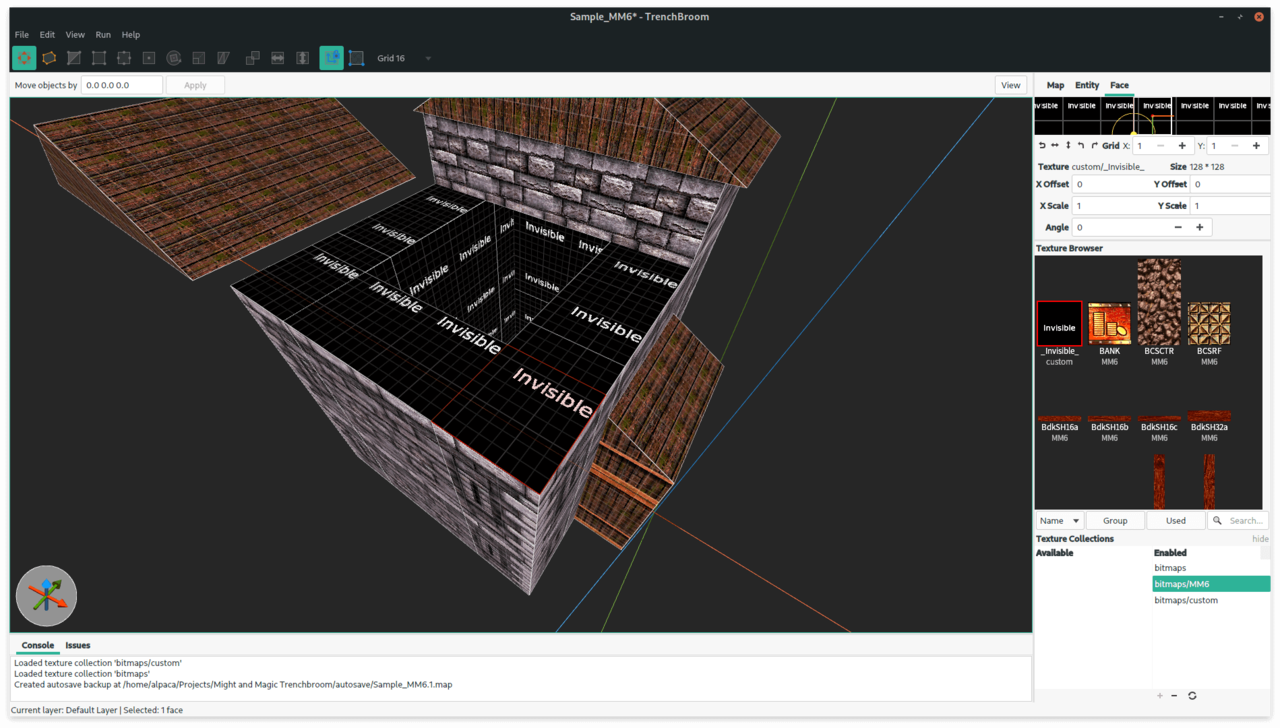
In Might and Magic engine if two model faces overlap each other they will blink / flicker and such, that effect is also known as Z-fighting. Face overlapping is very common when modelling with a Quake editor. That happens because instead of modeling with polygons directly, shapes are made using boxes.
To remove the faces they need to be marked using a texture named _Invisible_. The texture itself can be anything, the only rule is that it has to be named exactly like that. The texture can be made in any image editor and then loaded within any texture collection.
It is recommended to mark all faces that are not supposed to be visible during gameplay with that texture. After importing the object into MMEditor later on it will remove all the faces marked with that texture.
Export to MMEditor
Once the object is finished export the model by using File -> Export -> Wavefront OBJ ...
Doing that will create 2 files: .OBJ and .MTL
Altering MTL file to work with MMEditor
For now Trenchbroom exports .MTL files without texture entries. Without them MMEditor will not be able to find the textures required by a model.
Ways to fix that:
Manual
Open .MTL file and you will see a lot of lines similar to this:
newmtl MM6/CsBr128
Note the name after slash, that is a texture name.
A texture entry looks like that:
map_Kd CsBr128
map_Kd is an attribute and doesn't change, CsBr128 is a texture name.
Line like that needs to be added after each newmtl entry.
So the final material definition would look like:
newmtl MM6/CsBr128
map_Kd CsBr128
Bash script
Automates the process described above.
What's missing
The steps described above are proof of concept. The things that can be improved are:
- A way to merge Trenchbroom brushes without using 3D Software (merge everything on import in MMEditor for example)
- Better support for texture alignment in Might and Magic (texture flipping, offsets, scaling)
- Convert existing maps to OBJ to use as a reference in the editor
- Crossplatform MTL conversion
