Making Might and Magic maps with Trenchbroom: Difference between revisions
From MM6 Wiki
No edit summary |
|||
| Line 71: | Line 71: | ||
<br /> | <br /> | ||
====Optimizing the object with _Invisible_ texture==== | ====Optimizing the object with _Invisible_ texture==== | ||
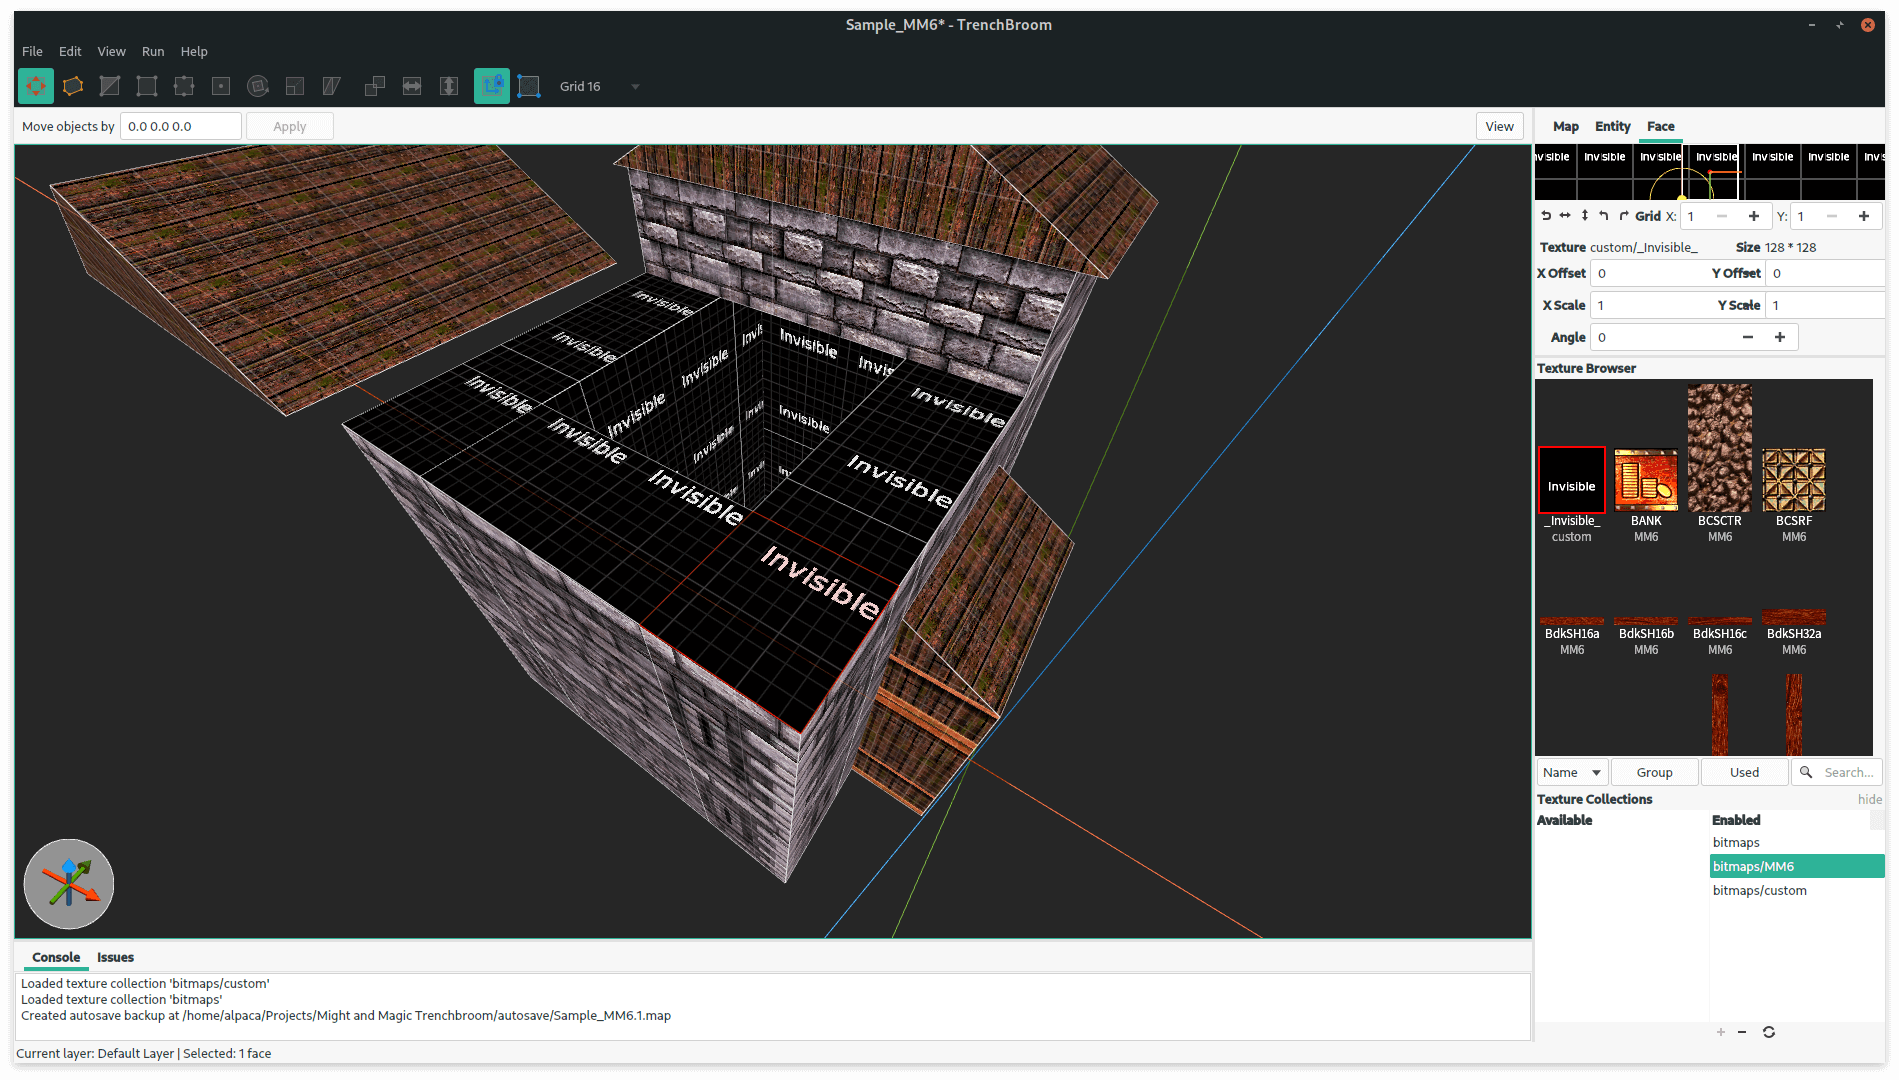
When building with boxes (brushes) there are usually a lot of faces (segments) which are not necessary for the shape. The ones that are inside the object, or the ones that overlap. Generally these are the elements of the model that will not or should not be visible during gameplay. To remove them, they need to be marked with the texture named '''_Invisible_'''. The texture is already included in a premade texture pack, it is in a group named '''mmeditor'''. | |||
''In Might and Magic engine if two model faces overlap each other they will blink / flicker and such. That effect is also known as Z-fighting. Face overlapping is very common when modelling with a Quake editor. That happens because instead of modeling with polygons directly, shapes are made using brushes / boxes.'' | |||
To remove the faces they need to be marked using a texture named '''_Invisible_'''. The texture itself can be anything, the only rule is that it has to be named exactly like that. The texture can be made in any image editor and then loaded within any texture collection. | ''<br /> | ||
To remove the faces they need to be marked using a texture named '''_Invisible_'''. The texture itself can be anything, the only rule is that it has to be named exactly like that. The texture can be made in any image editor and then loaded within any texture collection.'' | |||
[[File:Mm6 trenchbroom object ready 2.png|frameless|1899x1899px]] | [[File:Mm6 trenchbroom object ready 2.png|frameless|1899x1899px]] | ||
Revision as of 18:15, 13 June 2020
Making maps for Might and Magic is a little bit tricky since it requires usage of some 3D software like Blender or 3Ds Max. To make it easier map editor can be used. MMEditor which is used to edit Might and Magic maps can import 3D models in OBJ format, that means that any program that can export such models can be used for making objects or even entire maps for the game.
Trenchbroom is a map editor for Quake-based games.
Setting up the editor
There are premade texture packs for Trenchbroom:
The pack can be extracted anywhere, just make sure to note its location.
More information on how to make a custom texture pack can be found on the Discussion page.
Trenchbroom configuration
By default it seems that BMP image support in Trenchbroom is not enabled. That can be solved by creating custom configuration file for a game that needs it.
Might and Magic game preset for Trenchbroom
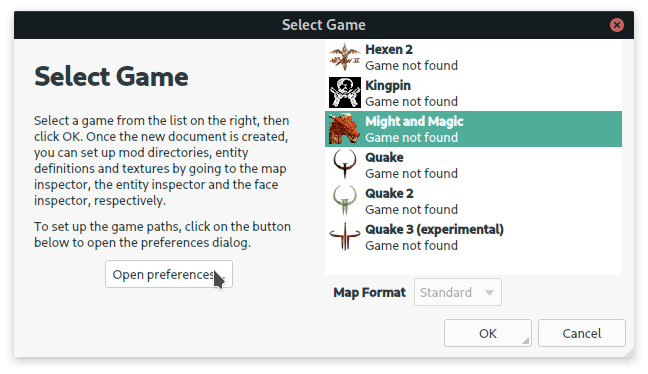
To add this configuration: extract the ZIP file into Trenchbroom/Games directory. If the configuration files worked then a new entry will be visible when creating a new map:
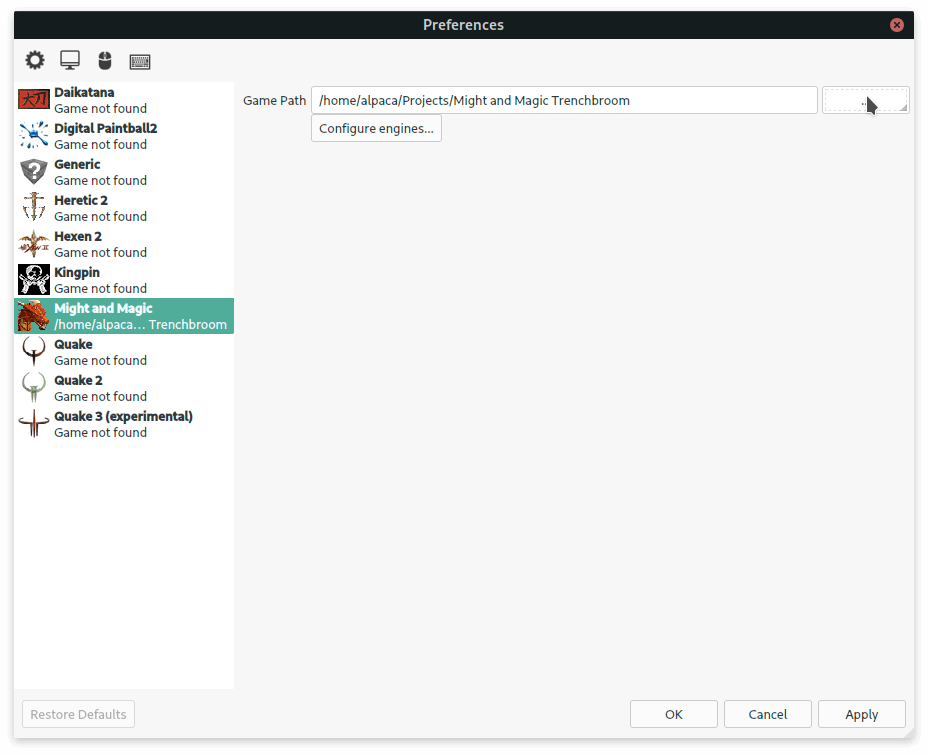
Now Trenchbroom needs a path where the textures are stored. To set it, press the Open preferences... button. And set the path for Might and Magic to the folder that contains Bitmaps folder with the textures (Might and Magic Trenchbroom).
Making a map / object
Now creating new map with Might and Magic preset will be loading the project folder and the textures will be available. To proceed start a new map using Might and Magic preset.
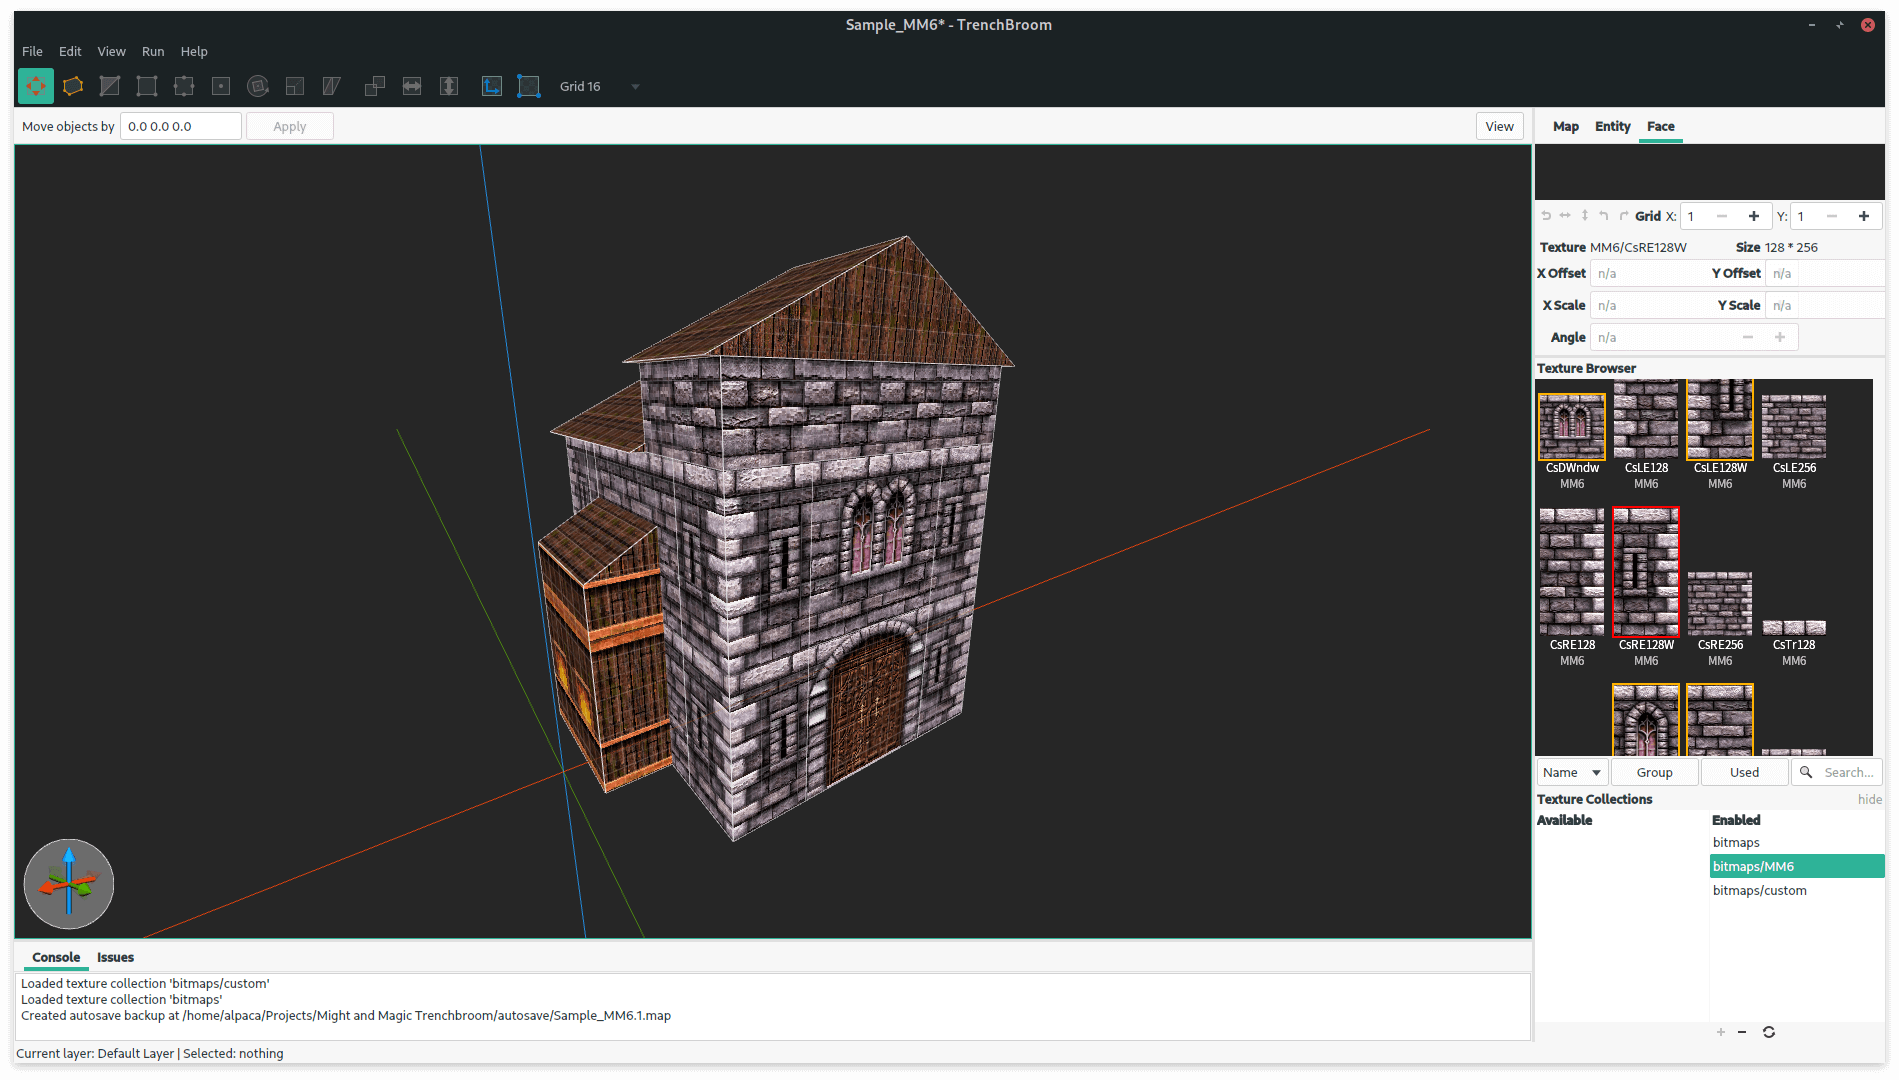
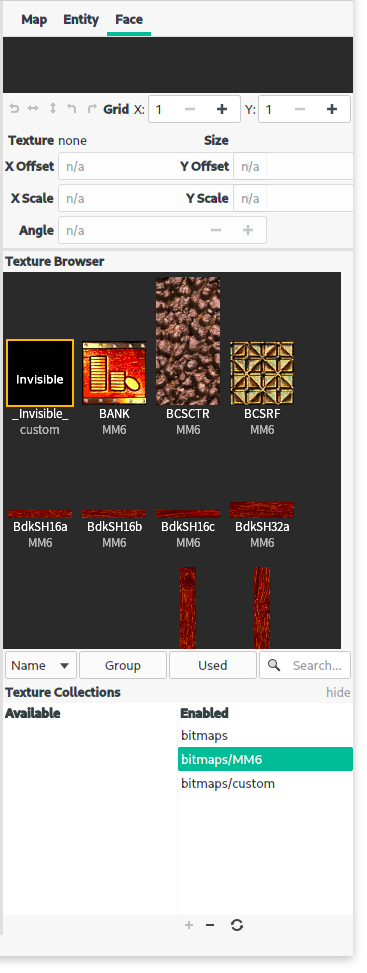
The textures will be available once texture collection is selected. Open the Face tab and in the Texture Collections section double click on the bitmaps\MM6 collection. Once the texture collection is loaded the textures should be visible in the Texture Browser.
From now on the process is very similar to making a custom map for Quake, so the general tutorials for Trenchbroom apply.
Limitations
Might and Magic engine has its own limitations that are not present in Quake engine.
- The textures can not be rotated
- The textures can not be flipped
- The textures can not be scaled
None of that will be applied after the model is exported and will lead to inconsistent results between the editor and the game.
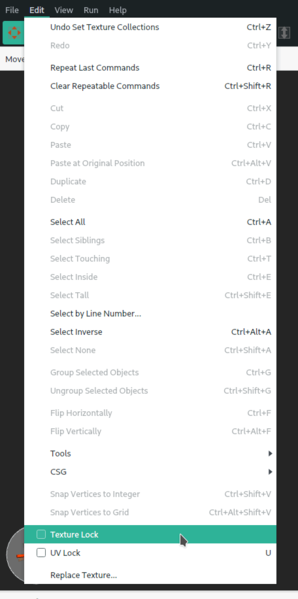
To avoid some of those things untick Texture Lock and UV lock in the Edit menu:
Optimizing the object with _Invisible_ texture
When building with boxes (brushes) there are usually a lot of faces (segments) which are not necessary for the shape. The ones that are inside the object, or the ones that overlap. Generally these are the elements of the model that will not or should not be visible during gameplay. To remove them, they need to be marked with the texture named _Invisible_. The texture is already included in a premade texture pack, it is in a group named mmeditor.
In Might and Magic engine if two model faces overlap each other they will blink / flicker and such. That effect is also known as Z-fighting. Face overlapping is very common when modelling with a Quake editor. That happens because instead of modeling with polygons directly, shapes are made using brushes / boxes.
To remove the faces they need to be marked using a texture named _Invisible_. The texture itself can be anything, the only rule is that it has to be named exactly like that. The texture can be made in any image editor and then loaded within any texture collection.
Export to MMEditor
Once the object is finished export the model by using File -> Export -> Wavefront OBJ ...
Doing that will create 2 files: .OBJ and .MTL
Importing the model
MMEditor is used for editing maps in the game. Follow the steps for installation of MMEditor, afterwards run the game once to generate the required files and directories.
For MMEditor to correctly process the model the following script: mtl.lua
needs to be placed at the /Scripts/General directory.
Once the game is loaded press alt + F1 and open any internal map.
To import the model click on the Import button.
Select Cancel when asked to delete models, that will keep the rest of the map intact.
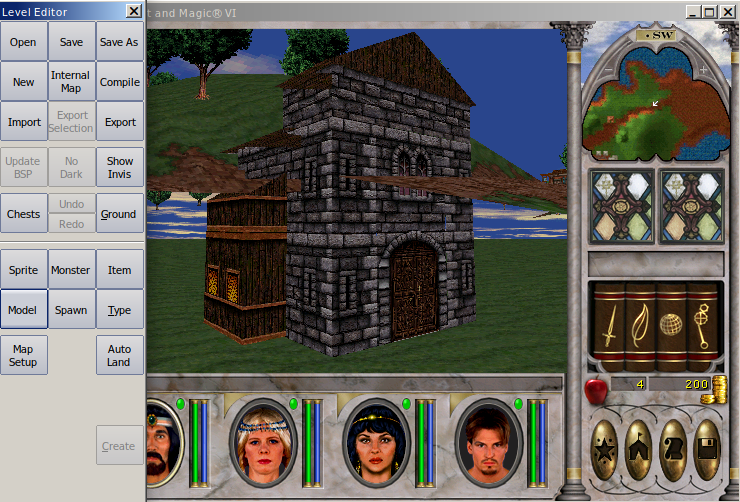
If the model was created not far from the center of coordinates in Trenchbroom it will be placed somewhere around 0,0,0 coordinates in the game, which is the center of the map. The newly imported object should be there.
Moving the object
Many building in the game are considered to be a single object by the engine. Those had many shapes merged in one using 3D software. In Trenchbroom objects are built using brushes and usually there are many brushes that constitute one object. When Trenchbroom exports a model it keeps the shapes separate. That means that the object can not be selected all at once.
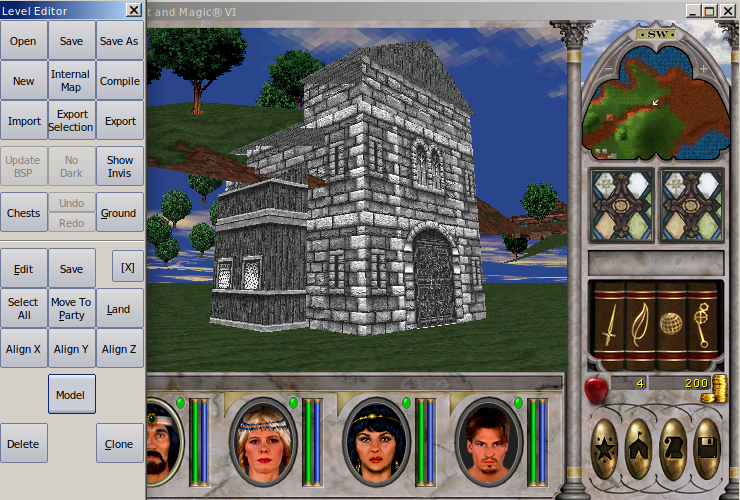
To move imported object:
- Click on any face on the model
- Press the Model button
- Hold the Left Shift key and select the other parts
Now there are 2 options:
- Use arrow keys + Page Up / Down to move the object around
- Move the party to the destination and press the Move To Party button
! Note that the Land function will not help to align the object to the ground since it will align every segment individually and not the entire group.
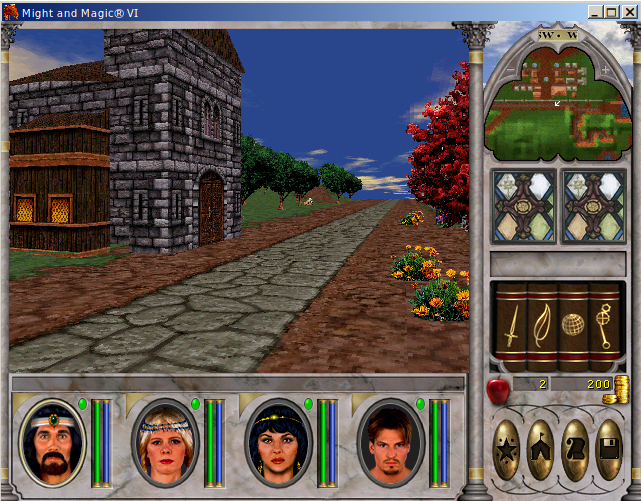
The result:
