Editing Bitmaps
From MM6 Wiki
Bitmaps are the textures used for drawing over the geometry in 3D world. They are stored in BITMAPS.LOD. Each bitmap has to have a palette (be an indexed image) and the palette that it uses must be stored along it in the archive.
This page will show how to modify and add new bitmaps with the help of MMArchive and GIMP.
Editing and exporting
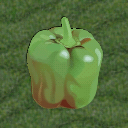
In this example we will take the grass tile image and make some changes.
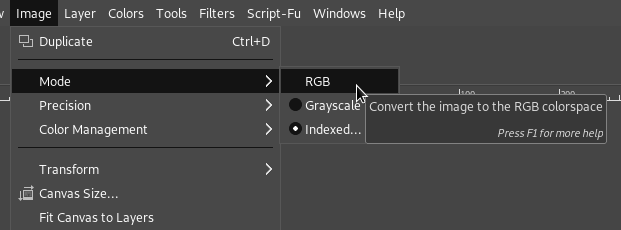
First of all make sure your image is in RGB mode.
That will allow you to use whatever colors you want instead of a limited range of the original image.
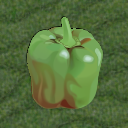
Now make any changes to the image you want.
For example:
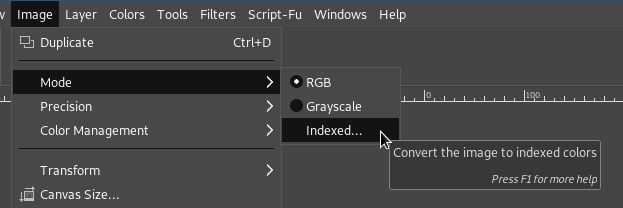
After you finished making changes to the image convert it to indexed mode:
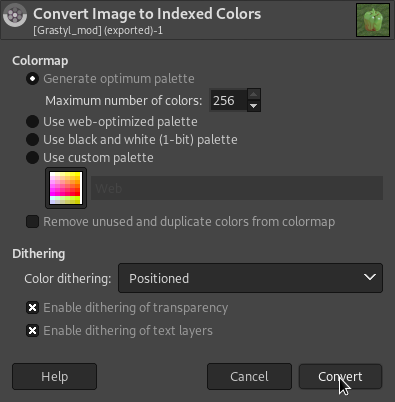
You will be brought to the following menu:
Here you will need to set Maximum number of colors to 256
Optionally if 256 colors is not enough you can set Color Dithering to Positioned
Afterwards click on Convert to get the result.
Here's what we've got:
You might have noticed a visual difference, that is because we've got much less colors right now and the image is following the specific palette that we've just generated. That helps to reduce the size of the image greatly and is the only mode the game's engine accepts.
Now export your image in .BMP format.
It should have the same name as the bitmap you are replacing if you are not intending to add an entirely new bitmap.
Importing the new bitmap into the game
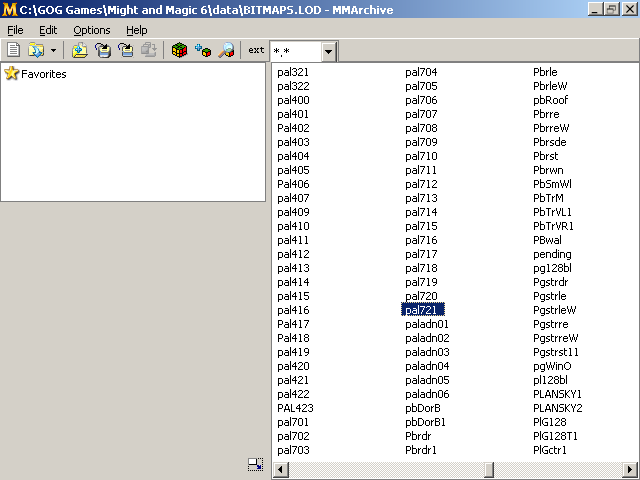
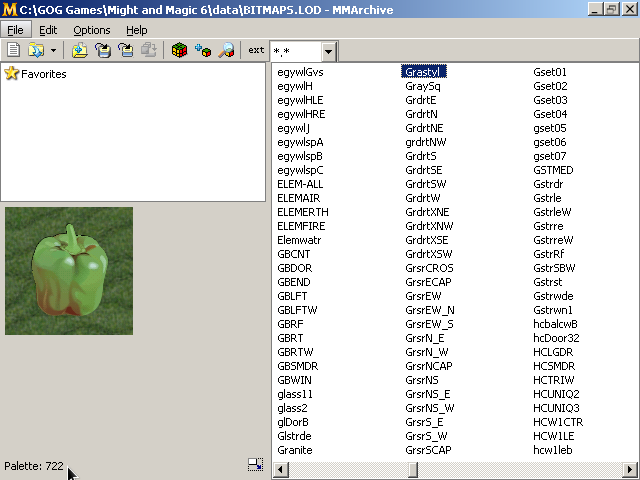
Open BITMAPS.LOD of the game you are importing the bitmap to with MMArchive.
Find the files that begin with "pal". You need to find the last one, in our case it is 721.
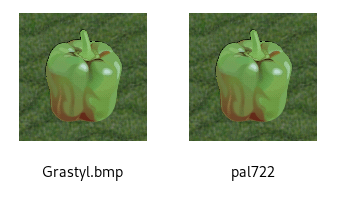
Now duplicate the bitmap that you've just exported from GIMP and rename the duplicate. Basically you need to name the file so that it starts with "pal" and in the same time doesn't have a duplicate in the archive. So we just add 1 to the latest "pal" file and get "pal722". Make sure the file has no extension (remove the .bmp part from the filename).
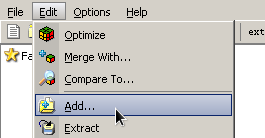
Now use the add command:
to add the "pal" file and then the bitmap in the following order.
Make sure that the index in the bottom left corner corresponds to the "pal" file you've just imported.
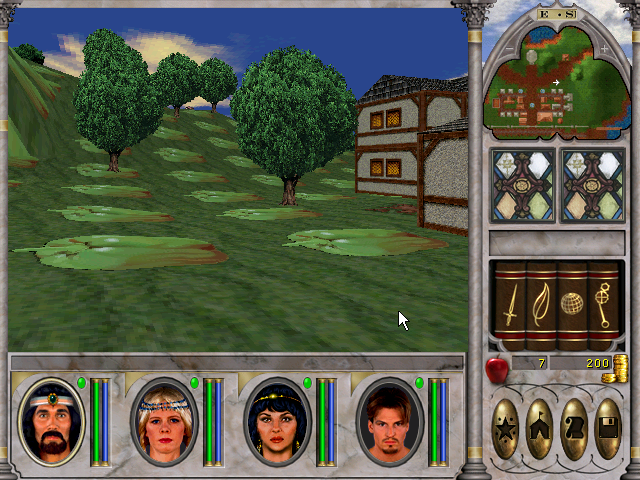
And the last step, admire the beauty of the thing you have created:
